New post over at my home design blog!

https://housearchitect.wordpress.com/2016/11/01/eight-principles-of-home-design-and-art

New post over at my home design blog!
https://housearchitect.wordpress.com/2016/11/01/eight-principles-of-home-design-and-art
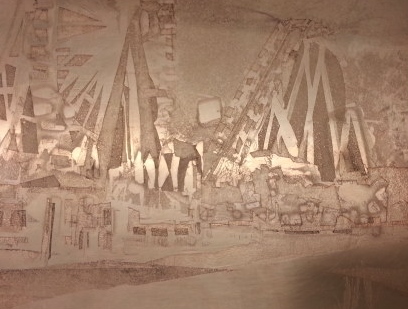
Here is a picture of the original copper plate used to print Midway Lights. Notice the image is reversed from the actual print. I love the reversal of image when printing! I can’t wait to pull a print the first time! Just as we read left to right an artist has a certain way of creating images. I tend to balance right so printmaking has taught me an entirely new way to create images!

Midway Lights copper plate
The edition is complete and signed at 20. I need to change, scar or deface the plate so additional identical prints of the original 20 can not be printed. I took a beforehand keepsake picture as I will soon alter the plate.
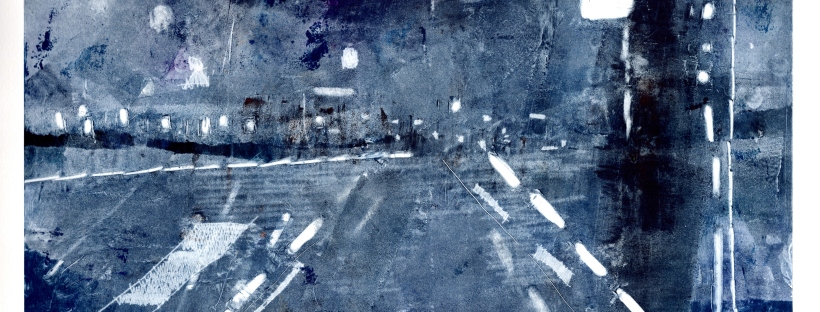

The Road Monotype 11″x16″ on BFK 2012

Monotype 11″x16″ on BFK 2012
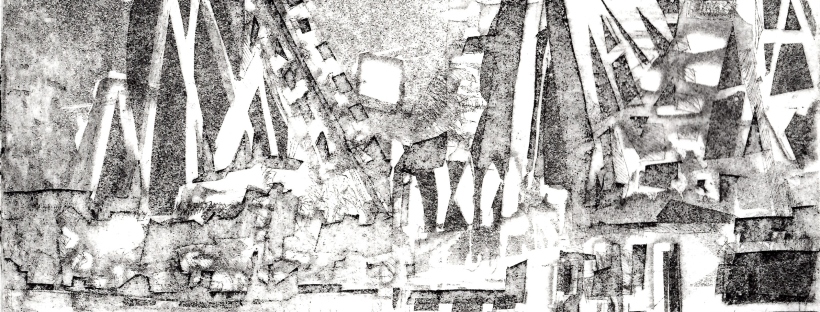

Number 6 out of the edition of 20. It is etched on copper approx 6″ x 8″ printed on BFK white
Here is a picture of number 6 out of the edition of 20. It is etched on copper 6 x 8 printed on BFK white.


“Midway Lights” Copper Etching Edition of 20 Prints for UMKC Hand Print Press Edition 2014
Steam Roller Printing Explained Step by Step
This print was created during a class at the Lawrence Art Center. The finale was May 30th 2014 when a Steam Roller was used to print the plate during the Art Tougeau event.

initial image

Using router to make first cuts on wood cut. Router was used to clear lager areas of plate. Image was drawn on plywood sheet 48″ x 32″ using a sharpie
Step 2 thru 20,00o!
Many many cuts by hand 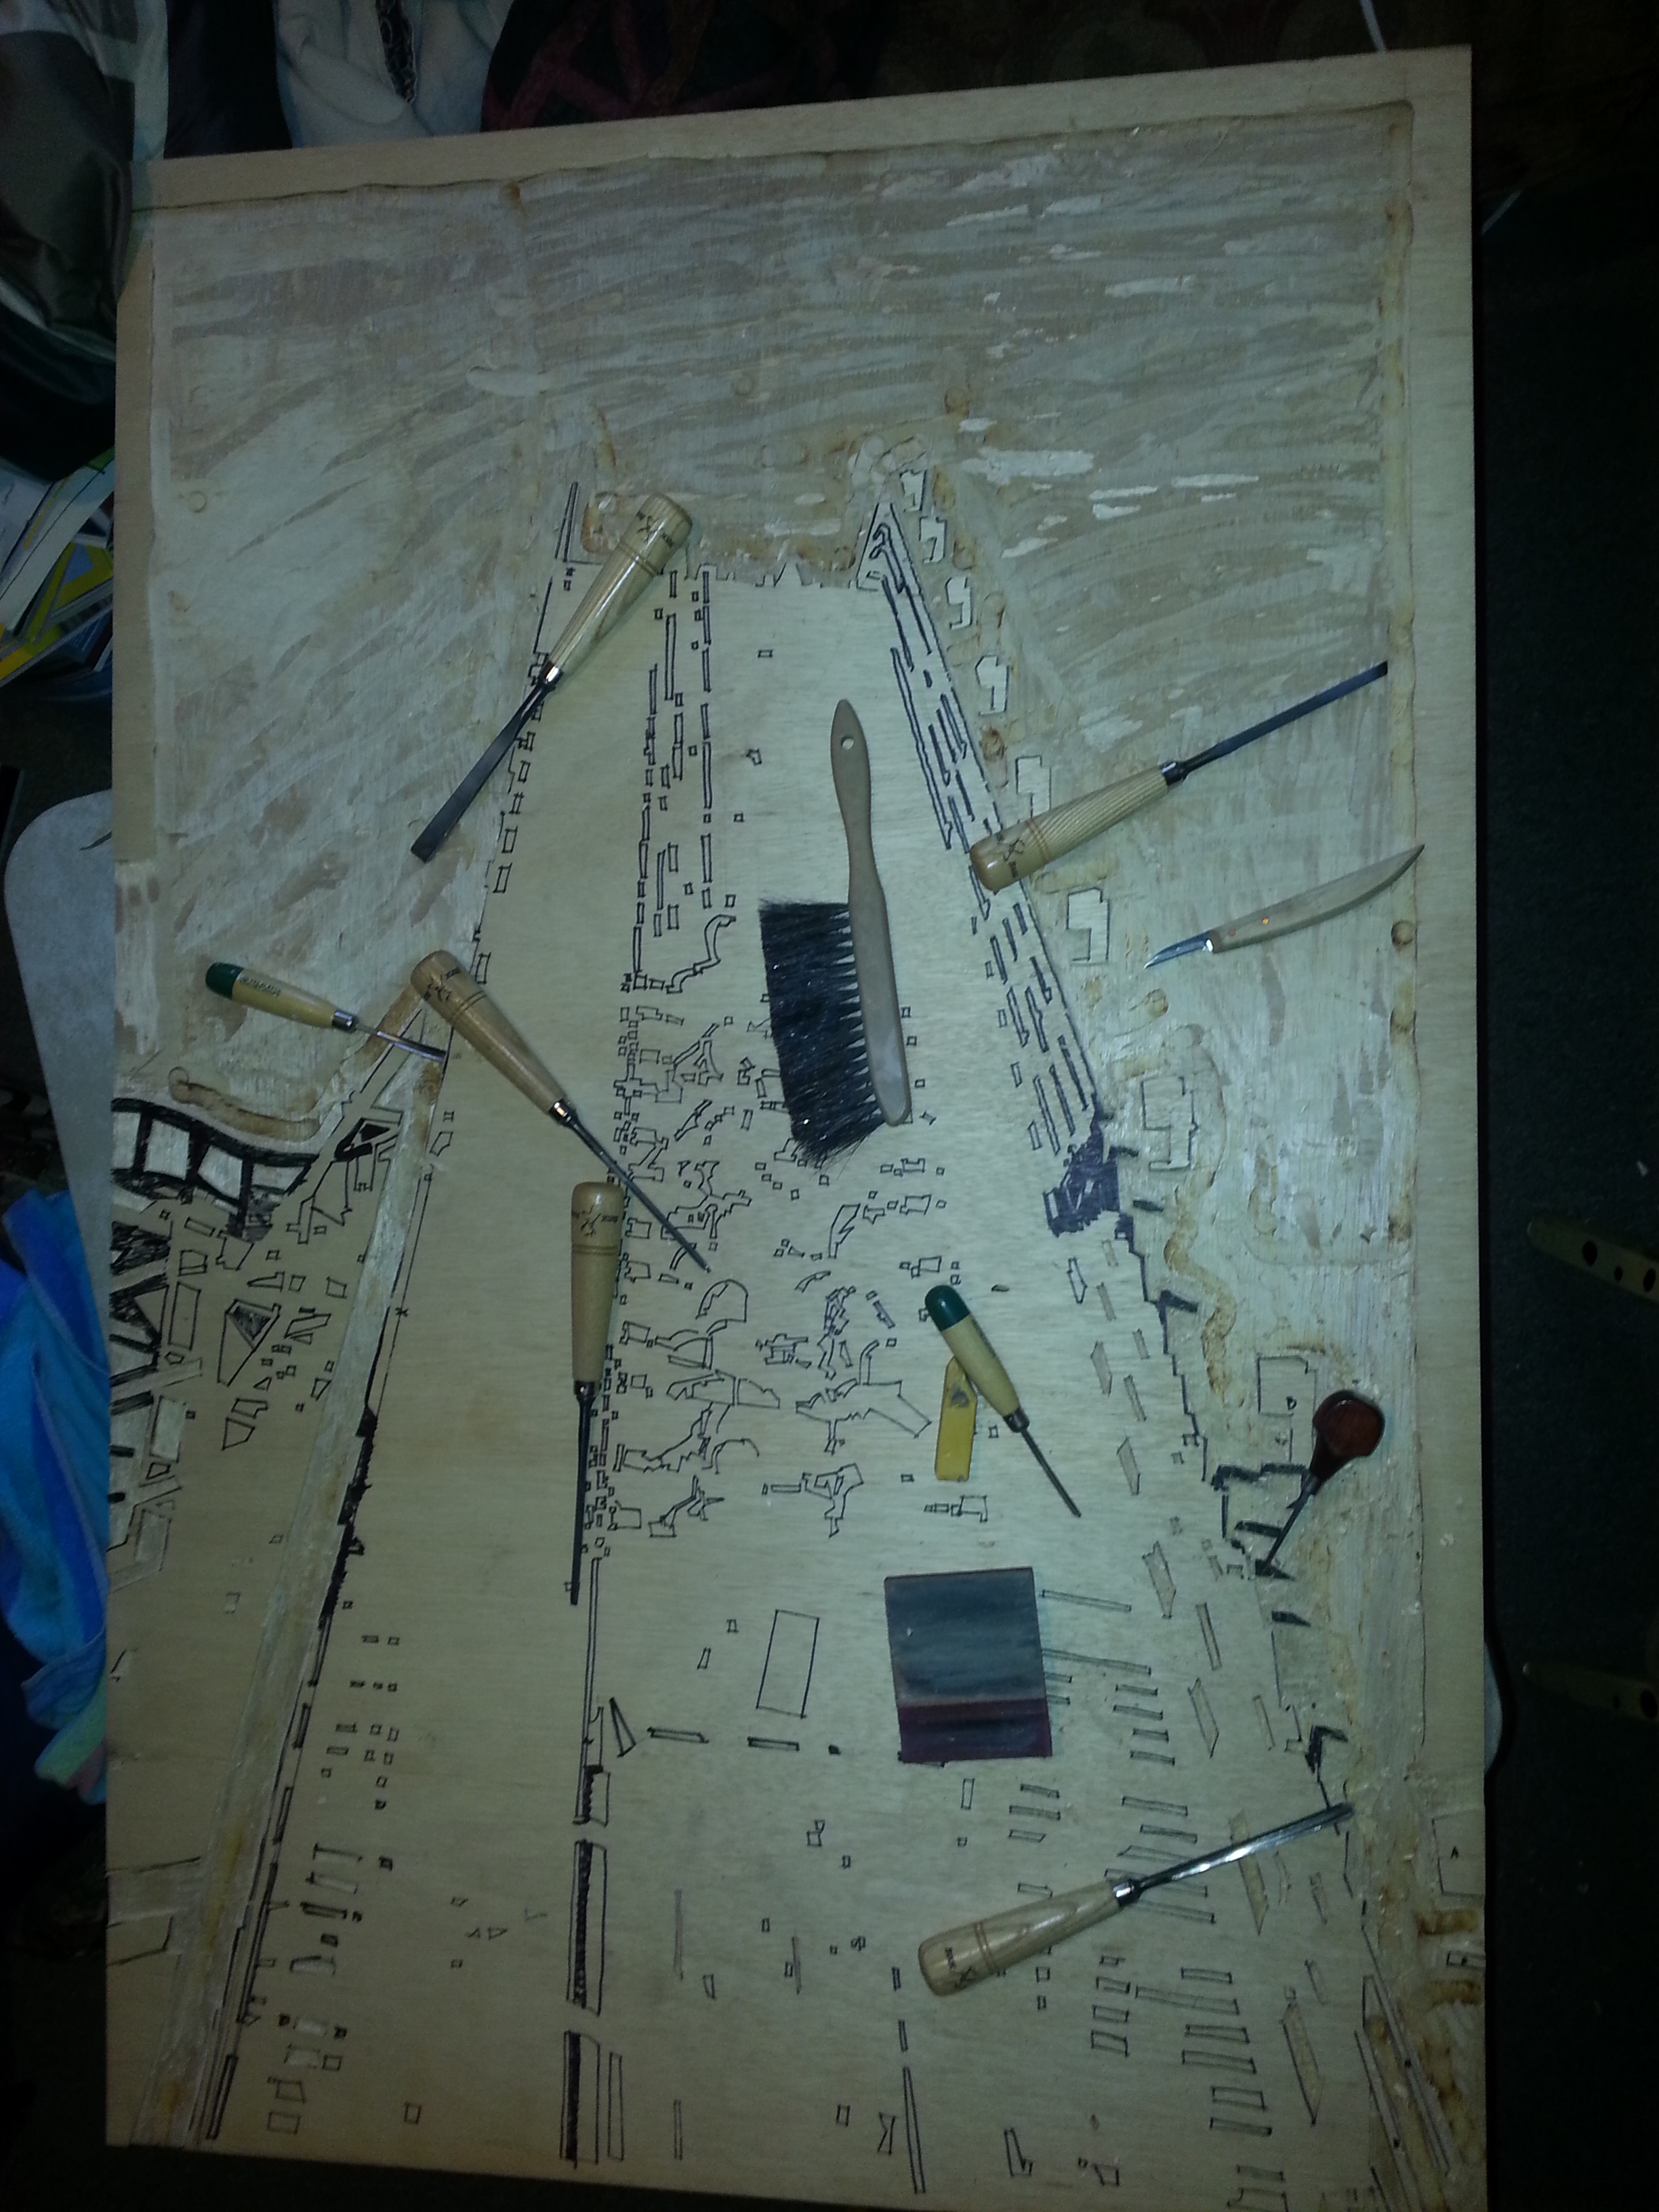

Carved plywood and MDF plates waiting to go at Lawrence Arts Center!
Step 3 priming finished plate

Plate being inked!
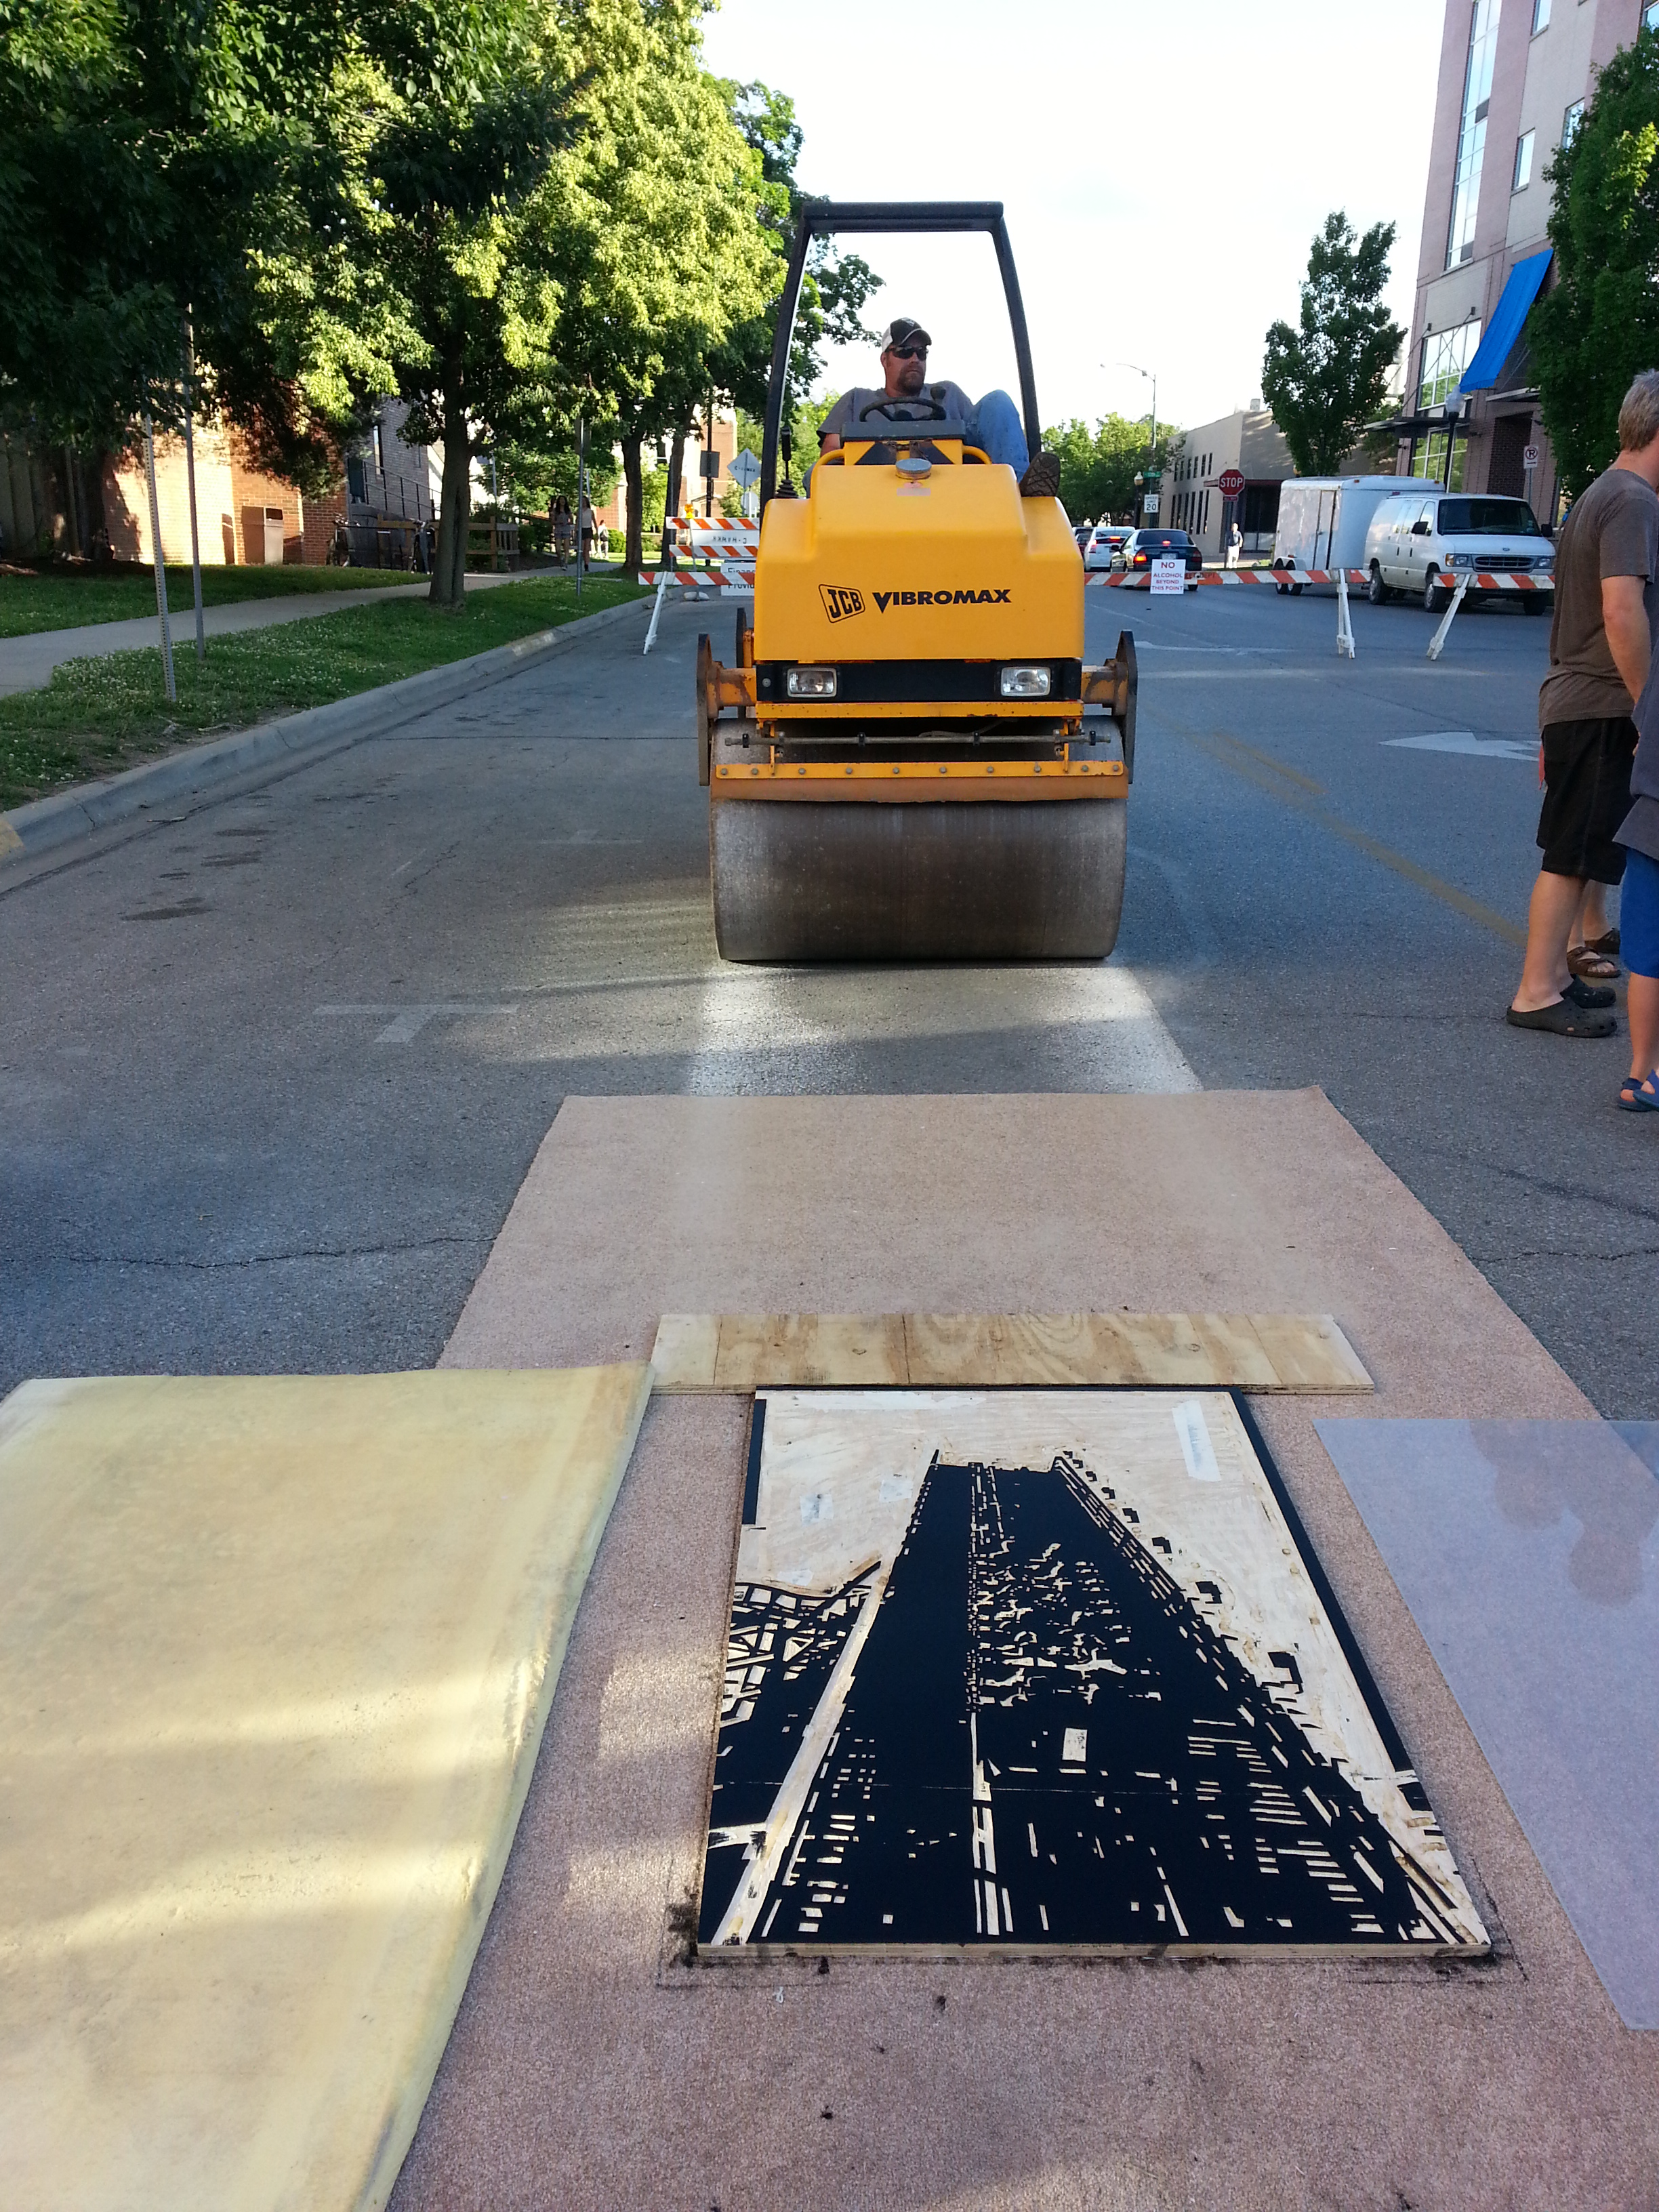
Plate moved to street!

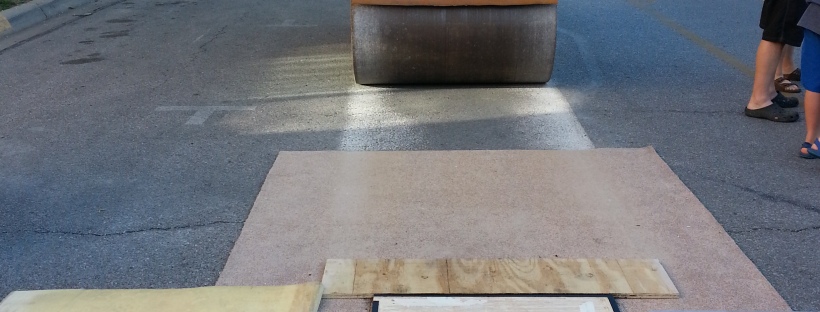
Paper being placed on plate, centered aligned and straight!

Steam roller. Standing on plate until steam roller engaged it keeps it from sliding and smearing ink!

Steam roller on plate!

paper pulled off plate! IT PRINTED!!

Finished print! still wet needs to dry.

prints displayed on wall at Lawrence arts center


Primed my 48″x 32″ wood cut for tomorrows Lawrence Art Center’s Art Tougeau Steer Party. We are using a steam roller to print plates!


coaster wood cut
Whew! With a little lot of help from my husband my our Steam Roller sized wood cut is ready to travel to Lawrence! It will be inked tonight to allow an ink layer to soak in before being inked and printed on Friday night at the Lawrence Arts Center 2014 Art Tougeau event Friday night 5/28/2014 ! 5PM-9PM!
Yes a STEAM ROLLER will be printing this plate as it is 48′ x 32″. I started this class with a friend two months ago. Woodcarving isn’t one of my favorite printmaking techniques but I have always dreamed of doing large format work. It hurts my hands to do the cutting. Yes my tools and are sharp. It just doesn’t come naturally to me. It isn’t easy. I had high hopes that I would be a pro after completing a plate this large. I will be carving like a hot blade through butter in no time I told myself. We used a router to clear a lot at the top of image which helped. I also wanted a balanced image with as much black as white revealed which kept large ares untouched.
A previous client now wonderful friend emailed about this class at the Lawrence Art Center. She takes many classes there and is always inspired by the classes and the work she creates at the them. My friend is a life long learner which is why I adore her. Never one to fade from a challenge she loves to solve a problem. It would be fun! We would travel to Lawrence for Wednesday class from 7-9 nights for 6 or maybe it was 8 weeks? It would be causal knowing that we might not be able to make every class. My life especially evenings can can be unpredictable. My dual income clients need to meet in the evening. A project due date, a lacrosse game to watch my son in, a new confirmation class at church a son needs a ride too, umm dinner too?! Sometimes sheer exhaustion creeps in. I know when to call it a day! I know the feeling when not ONE more creative idea or inspiration will happen until I shut down and rest! So we skipped a few times ok let’s say many times! We knew what we needed to do. CARVE & carve some more! We checked in on some classes to see what other classmates were up too but class time was a chance to work and with the studio 45 minutes away travel time was better used for work time.
My husband and I set up a card table in front of the TV and carved while watching reality TV (me) Royals (him). It reminded me of when we set up the same table to do puzzles. I had a set of carving tools from my intro studio I took years ago on Saturday morning at the University of New Mexico in Albuquerque. The tools have been living in a brown paper lunch sack for many years over 19 since I had them before my baby girl was born! I took them to class for a refresher on how to use them since my last attempt at carving was the lowest grade in my that classes portfolio. The tools may have been used to scratch etching plates as I preferred intaglio for years. The tools were useless! Deemed unsharpenable by my instructor!
I returned home deflated and unsure how this large plate was gong to happen. I had tried a Dremmel but wasn’t thrilled. I didn’t have the skills to control it and it didn’t like the mark/cut it made. My husband carves wood neckerchief slides at Scout Camp each year. He also teaches scouts and leaders how to carve. Over and over he suggested I try the wood carving tools we inherited from my dad. I shrugged not understanding how these tools for carving a three dimensional object could be useful for carving a sheet of very flat plywood.
THEY ARE THE SAME TOOLS! I was thrilled when my husband showed me all the tools we had. I am not sure what I like best this project: the sheer size, the image, working with my husband, spending time with my cool friend as we traveled to and from Lawrence or just holding the same tools my dad did. This project as many do started quietly then it grew legs of it own with many twists and turns. I listened quietly to the design/image and it told me many things and then started to run with a clear direction in mind!
I will post an update of the inking and the print! stay tuned!
coaster wood cut
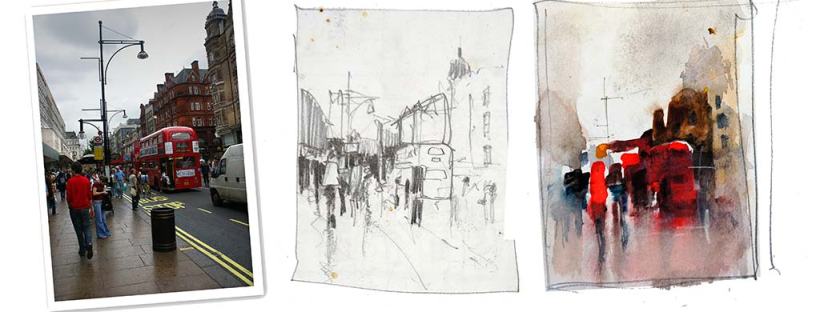
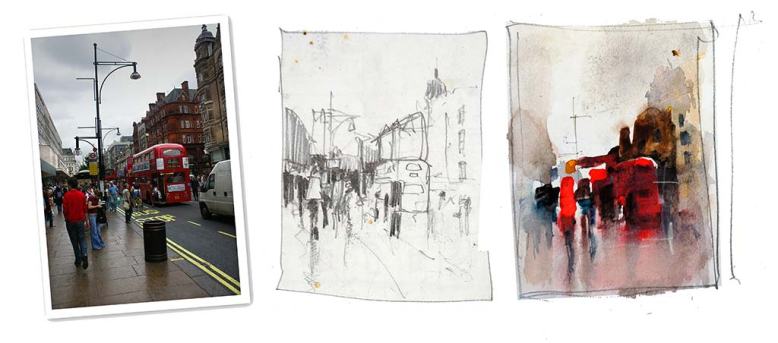
Nice article on sketching!
I have added a new article on thumbnail sketches to johnlovettwatercolorworkshop.com
Simple little things that can have a major impact on everything you paint.

You must be logged in to post a comment.